
This guide goes in-depth on the best class setups and attachments for the Razorback SMG in COD Mobile.
We look at weapon stats such as damage, fire rate, and recoil. With this information, we suggest the best attachments to use in order to try and mitigate the weapon’s weaknesses.
When we have the best attachments established. Finally, we suggest our top 3 class setups to run when using the Razorback SMG in Call of Duty Mobile.
Weapon background
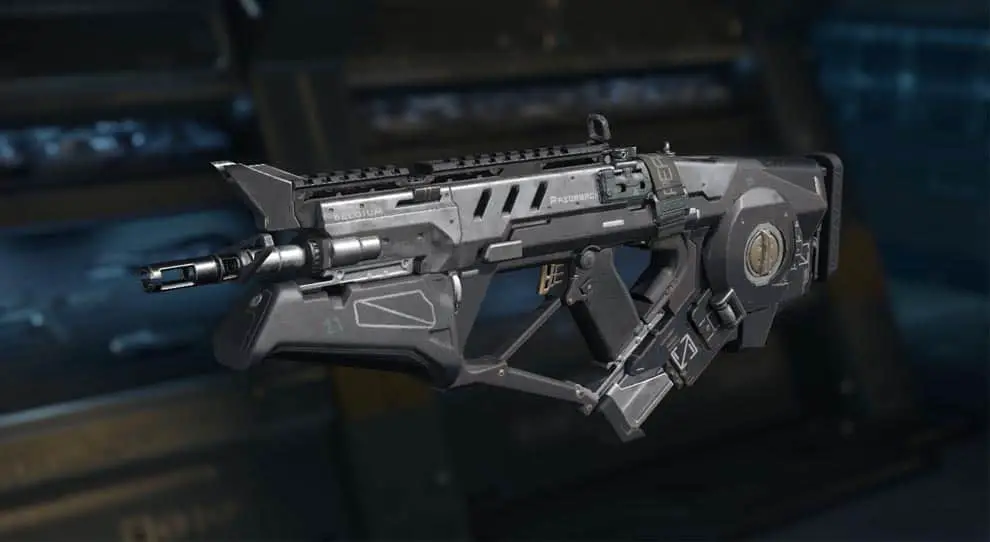
The Razorback first appeared in Call of Duty with the release of Call of Duty Black Ops 3. It was also featured in the Zombies mode of BO3. It’s now made a reappearance in Call of Duty Mobile.
Stats
- Damage: 90
- Rate of Fire: 50
- Recoil: Moderate
- Range: 40
We can see from the stats above that the Razorback can kill in 2 to 3 shots depending on the range. Up close, the weapon has a very high damage rate. This is countered by the low range of the weapon. At medium range, the SMG drops off to 3 plus shots to kill.
Best Attachments
The best attachments for the Razorback are the Long Barrel, Foregrip, and Stock. The Long Barrel drastically increases the SMGs damage range making the weapon more viable in medium-range engagements. Foregrip and stock combined make your weapon more accurate and make you a harder target to hit.
| Check out these Awesome COD Mobile guides while you’re here |
| COD Mobile Top Tips to DOMINATE |
| COD Mobile Best Places to Land for Loot |
| COD Mobile Assault Rifle Guides |
Best Class Setups
Here are the best class setups for the Razorback SMG. We have selected 3 in order to take into account a variety of playstyles and gameplay situations.
Class 1 – Razorback Stealth
This class is made for stealth players that love to stay undetected. Load the Razorback with the following attachments.
- Red Dot Sight
- Suppressor
- Foregrip
- Long Barrel
Class Setup
The remainder of the loadout is made with stealth and ninja mode in mind.
- Secondary: MW11 is fast and powerful.
- Perk 1: Lightweight is a great perk to keep you moving swiftly.
- Perk 2: Ghost will keep you extra stealth from UAVs.
- Perk 3: Dead Silence is a must in a stealth class. It’s great to have on when you’re trying to flank the enemy.
- Lethal: Trip Mines are best used to block rush routes or flank routes.
- Tactical: Flash Grenades always work well to get you out of a doomed gunfight.
Class 2 – Razorback CQB
The CQB class is built for close-quarter engagements. Attach the following to the Razorback SMG:
- Red Dot Sight
- Quickdraw
- Foregrip
- Stock
Class Setup
The remainder of the class is designed to keep you fast and agile. This is very important when playing the close-range game.
- Secondary: The J358 packs a serious punch and is reliable when finishing off an opponent.
- Perk 1: Fast recovery is important here. Especially because you will be playing the risky close range style.
- Perk 2: Vulture is great for keeping you loaded up with ammo.
- Perk 3: Alert gives you the heads up to nearby enemies. This is great when you spend a lot of time in the enemy spawn.
- Lethal: Frags are easy and powerful to hold down enemy spawn points.
- Tactical: Use the Stun grenade to slow down an enemy. Then quickly follow up with a cooked frag to pop your foe into oblivion.
Class 3 – Razorback Destruction
This class is geared towards players that love to play the objective and are not afraid to die for the cap. Fit the following attachments to the SMG:
- Red Dot Sight
- Long Barrel
- Foregrip
- Quickdraw
Class Setup
This class setup is great for playing the objective and defending those flags.
- Secondary: The SMRS Launcher is great for taking out UAVs and clearing enemies capping the objective.
- Perk 1: Flak Jacket will keep you strong against enemy nade spam.
- Perk 2: Toughness will lower your flinch to keep your aim on point.
- Perk 3: Demo Expert makes sure your explosives are even more lethal.
- Lethal: Try the Proximity Mine on a flag or rush route.
- Tactical: Use either stun grenades or the Trophy System, depending on whether you are attacking or defending.