
Been searching for the best class setups and attachments for the Chicom SMG in Call of Duty Mobile?
Today’s guide takes you through the burst fire SMGs weapon stats such as damage, rate of fire and recoil level. With these stats we suggest the best attachments to use with the Chicom. Finally, we give our top three class setups to use with the SMG.
Weapon background
The Chicom initially appeared in Black Ops 2 as the Chicom CQB. It has made a comeback in COD Mobile as the Chicom.
| Check out these Awesome COD Mobile guides while you’re here |
| COD Mobile Top Tips to DOMINATE |
| COD Mobile Best Places to Land for Loot |
| COD Mobile Assault Rifle Guides |
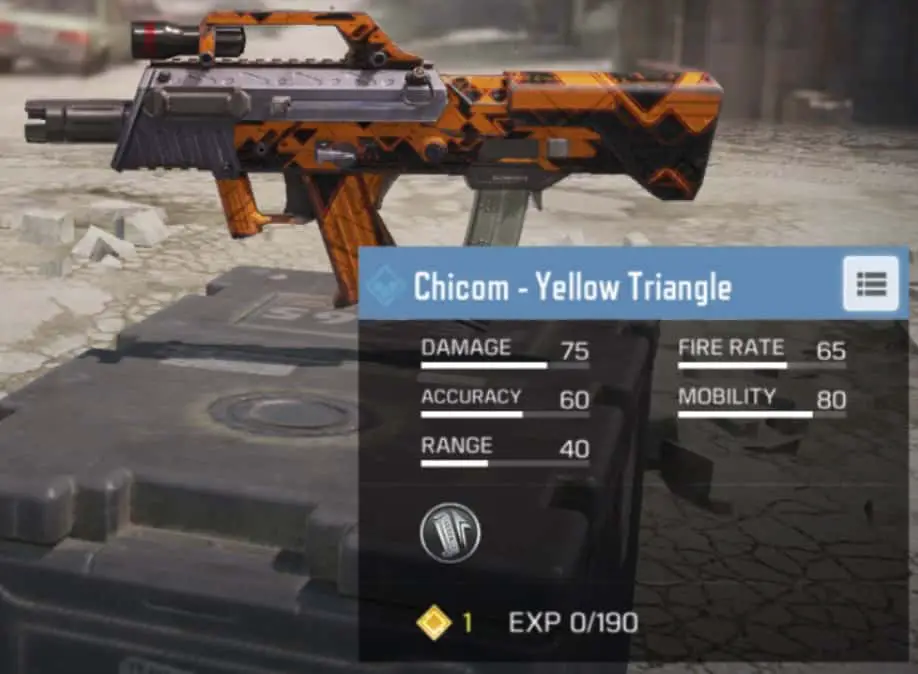
Stats
- Damage: 75
- Rate of Fire: 45
- Recoil: Low
From the statistics above we can see that the Chicom is a 2 shot kill from up close. Meaning that 2 bursts will be enough to wipe out an enemy. Provided you are in close range to your opponent. The fire rate and recoil are what you would expect on a burst fire SMG.
Best Attachments
The best attachments for the Chicom are the Long Barrel, Quickdraw, and Stock. The Long Barrel attachment gives you that added range, Quickdraw allows you to pull your gun faster and the Stock keeps you moving faster while aiming. This is an essential attachment to use on a burst fire weapon.
Best Class Setups
Below are the top three class setups we recommend running on the Chicom SMG. There is something below to suit all playstyles.
Class 1 – Chicom CQB
This class is great for players that love to stay close and personal to the enemy. Kit the Chicom with the following attachments:
- Quickdraw
- Laser Sight
- Stock
- Optic of your choice
Class Setup
- Secondary: The MW11 is a great option in close quarters combat.
- Perk 1: Lightweight will keep you light and fast.
- Perk 2: Tracker will let you know if someone has been around recently and where they are going.
- Perk 3: Dead Silence is very good to use when playing in close quarters combat because it’s easy for the enemy to hear you.
- Lethal: Try the Frag Grenade in this class.
- Tactical: A concussion works great to slow down nearby enemies before firing on them.
Class 2 – Chicom SND
This class is great for beasting in Search and Destroy. It can also work very well in FFA. Fit the following attachments on the Chicom:
- Scope of your choice
- Quickdraw
- Long Barrel
- Stock
Class Setup
- Secondary: The MW11 is fast and reliable, perfect for SND or FFA.
- Perk 1: Lightweight will allow you to get to the bombsight faster than your opponents.
- Perk 2: Ghost will keep you hidden from enemy UAVs.
- Perk 3: Engineer is a great perk to use in objective-based game modes because of the sheer amount of explosive equipment planted everywhere.
- Lethal: The Trip Mine is best placed near a bombsight or spawn point.
- Tactical: The Flashbang works wonders to counter rushers on flank routes.
Class 3 – Chicom All-Rounder
This Chicom class is built to suit all playstyles. It should be a steady class in all game modes. Attach the following to the Chicom:
- Long Barrel
- Quickdraw
- Extended Mags
Class Setup
- Secondary: The J358 is a steady and powerful handgun. Just be precise with your shots.
- Perk 1: Fast Recovery will allow you to get back into the battle quicker.
- Perk 2: Toughness is designed to make you tougher… duh!
- Perk 3: Demo Expert is great combined with Trip Mines below.
- Lethal: Trip Mines will pop even bigger with Demo Expert.
- Tactical: Try a Concussion or Flash or even a Trophy System if you’re feeling more defensive.