
Importing your Steam library into Launchbox is not as easy as it once was. In the past, you could simply start the import process and follow the wizard. However, Steam now requires some extra steps including logging in and getting an API key in order to connect Launchbox.
So if you’re wondering how to import Steam games to Launchbox. We’ve got you covered.
Launchbox is like a super organized and user-friendly hub for all your games on your computer. It’s a fancy frontend that lets you manage and launch games from different platforms, whether it’s your PC, emulators, or even console libraries. It gives you a cool-looking interface with artwork and info about your games. You can make playlists, use filters, and create shortcuts to make things even more organized. It’s got other neat features too, like mapping your controllers and automatically importing games. Basically, Launchbox makes gaming easy by being the one place where you find and launch all your favorite games.
How To Import Steam Games To Launchbox
Step 1: Download and Install LaunchBox
First, ensure that you have LaunchBox installed on your computer(duh). You can download the latest version from the official website (https://www.launchbox-app.com/Download). Follow our how to install Launchbox guide here.
Step 2: Launch LaunchBox
Open LaunchBox on your computer by double-clicking the LaunchBox icon on your desktop or by searching for it in your Start menu.
Step 3: Open the Import Wizard
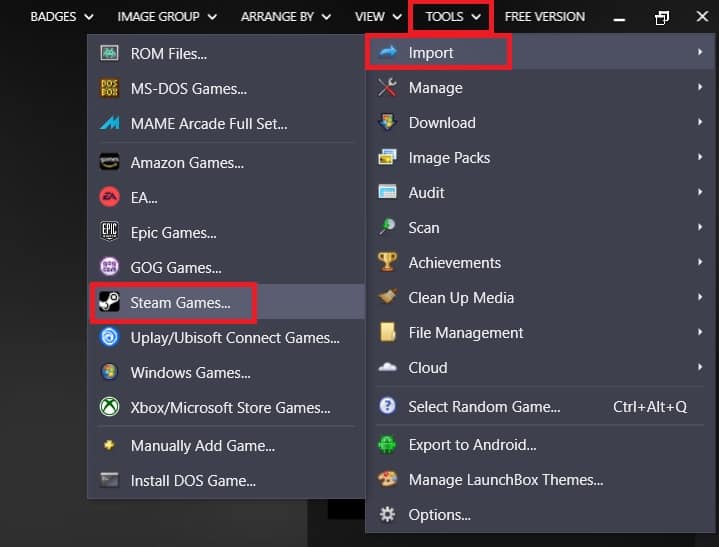
Once LaunchBox is open, go to the top menu and click on “Tools.” From the drop-down menu, select “Import.” Next, choose Steam Games.
Step 4: Get Steam Custom URL
To get your Steam custom URL, go to the Steam app or log in to Steam from a browser and find your name at the top right of the interface. Click on View Profile in the drop-down menu.
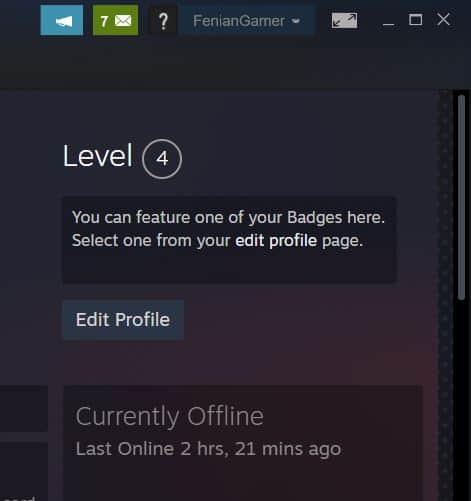
When you’re on your profile, select Edit Profile. On the Edit Profile screen, scroll down until you see Custom URL. Here, fill it in with whatever you want it to be. I just used my gamer tag.
Scroll down and click “Save”. Once you have the Custom URL. Copy and paste it into the Launchbox Wizard.
Step 5: Get Your Steam API Key
For this step make sure you are logged into Steam from a web browser.
Head over here: https://steamcommunity.com/dev/apikey/. When you land on this page you should see your API key if you don’t have one already.
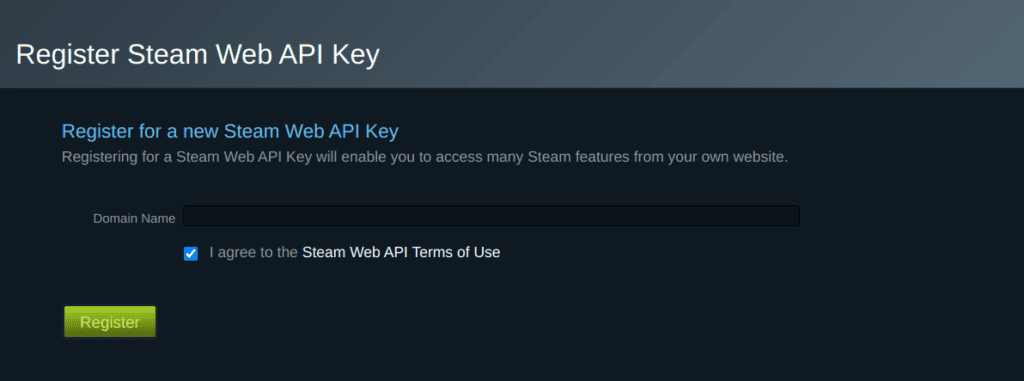
If you don’t have one, choose a domain. It can be any domain, you can even make it up. It doesn’t matter. When you choose a domain, register the API Key.
Then, copy and paste it into the Launchbox wizard and select Next.
Follow the Wizard and chose your platform. Select Steam as your platform.
You will also be asked to choose metadata options. Leaving these at default should be fine.
Step 6: Configure Steam Import Options
In the Steam import LB Wizard, you can choose various settings. Here’s a breakdown of the available options:
- Import all games: This option will import all games from your Steam library.
- Import only installed games: This option will only import games that are currently installed on your computer.
- Import uninstalled games: You can import the games that are not installed yet but maybe you plan to in the future.
Step 7: Start Import Process
Once you’ve configured all the import options and selected the import destination, click on the “Next” button to begin the import process. LaunchBox will start importing your selected Steam games and display a progress bar.
Step 8: LaunchBox Import Complete
After the import process is complete, you should now see your Steam games in Launchbox. You can now launch them from here.
Wrapping up
Congratulations! You have successfully imported your Steam games into LaunchBox. You can now view and organize your Steam games within LaunchBox and take advantage of its features for managing and launching your game collection.