
Today we take an in-depth look into the Striker 45 Stats Best Class Setups & Attachments in MW.
We look at stats such as Damage, Recoil, and Rate of Fire. With these stats, we then suggest the best loadouts and attachments used when running the Striker 45.
Asking yourself what are the best class setups and attachments for the Striker 45 SMG in Call of Duty Modern Warfare? Or maybe you want to know the important weapon stats.
Without further ado, let’s get into the Striker 45 Stats Best Class Setups & Attachments.
Weapon background
The Striker 45 is a return of the Modern Warfare fan-favorite UMP45. This was a beast SMG in MW2. It now makes a return in Modern Warfare, renamed as the Striker 45.
Note: The Striker 45 is unlocked at level 31 of the Battle Pass.
Stats
- Damage: 34-22
- Rate of Fire: 600RPM
- Recoil: Moderate
- Time to Kill: 200ms
Reading the stats above we can see that the Striker 45 can take out enemies in 3 to 4 shots. This gives the Striker 45 the highest damage range of any SMG in Modern Warfare. Its fire rate is a little on the slow side. However, it’s time to kill is pretty decent at 200ms.
Best Attachments
The best attachments for the Striker 45 in Modern Warfare are the:
- FTAC G-5 EXO Grip
- FSS Guardian Stock
- Commando Foregrip
Players have a choice between these attachments. However, the FSS Guardian Stock seems the better all in one attachment. Another great attachment to use is the Commando Foregrip to strengthen aiming stability.
Best Class Setups
Here are the best class setups for the Striker 45 in Modern Warfare. Each class has slightly different goals and playstyles in mind. So there’s something for everyone.
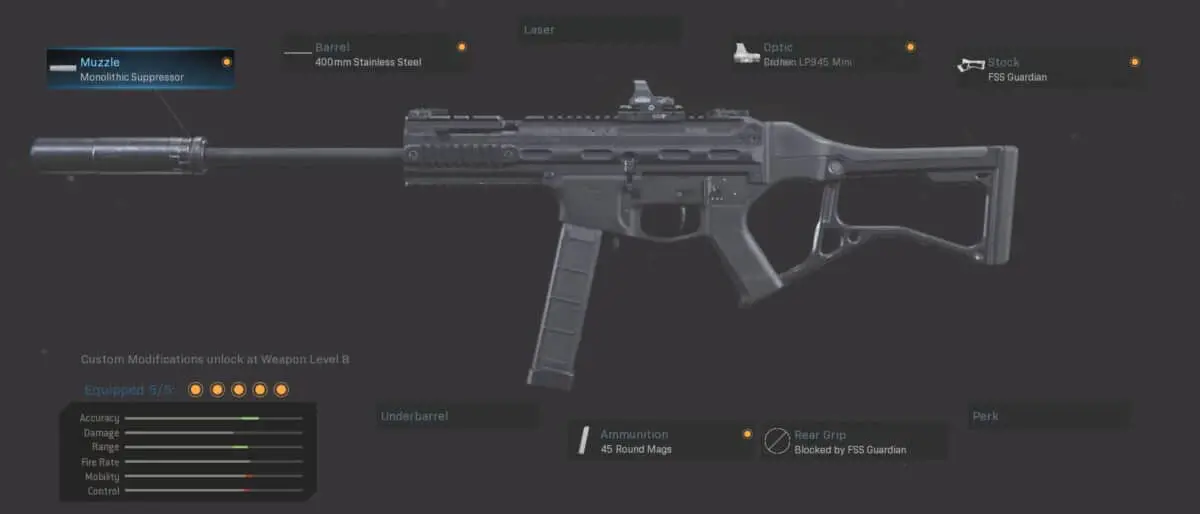
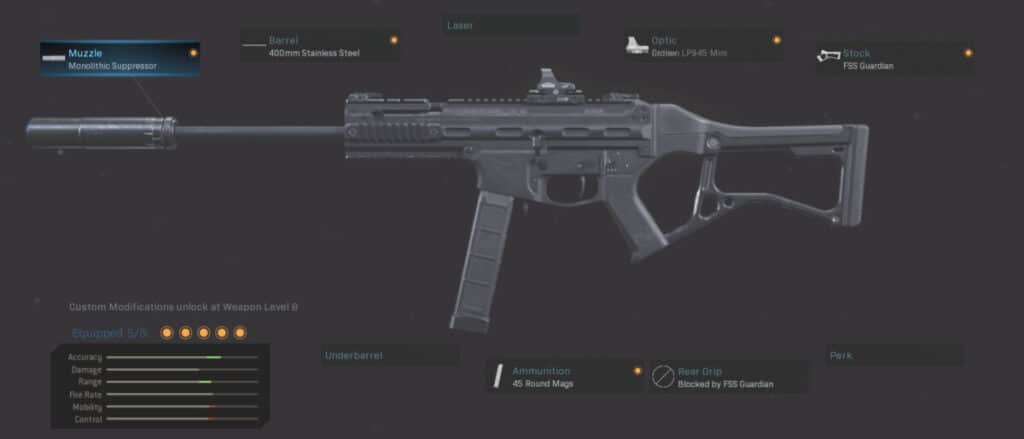
Class 1 – Striker Hardman
This class is probably our favorite for a long time. It is geared towards staying in the midst of the chaos. Attach the following to the weapon:
- Monolithic Suppressor
- 400mm Stainless Steel Barrel
- Cronan Mini Reflex
- FSS Guardian
- 45 Round Mags
Class Setup
The rest of the hardman class is made for staying hard and an all-out maniac.
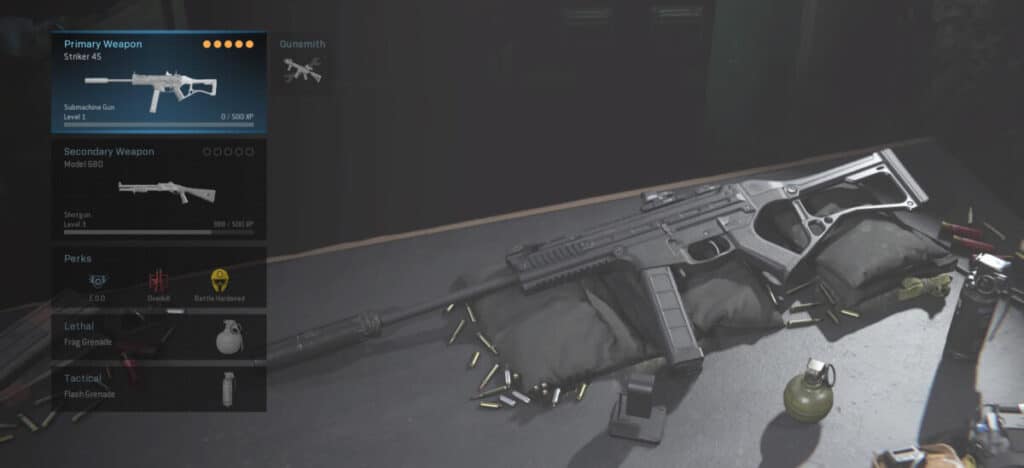
- Secondary: Model 680 is an animal in close range hands down.
- Perk 1: E.O.D. helps you resist enemy explosives.
- Perk 2: Overkill to allow you to rock that Model 680. Find out why it’s one of the best shotguns in the game now with our Model 680 Shotgun Guide.
- Perk 3: Battle-Hardened is the reason you’re a hardman.
- Lethal: Frags works great. Remember you can cook them for letting them rip.
- Tactical: Try to flash the enemy before throwing your cooked frag.
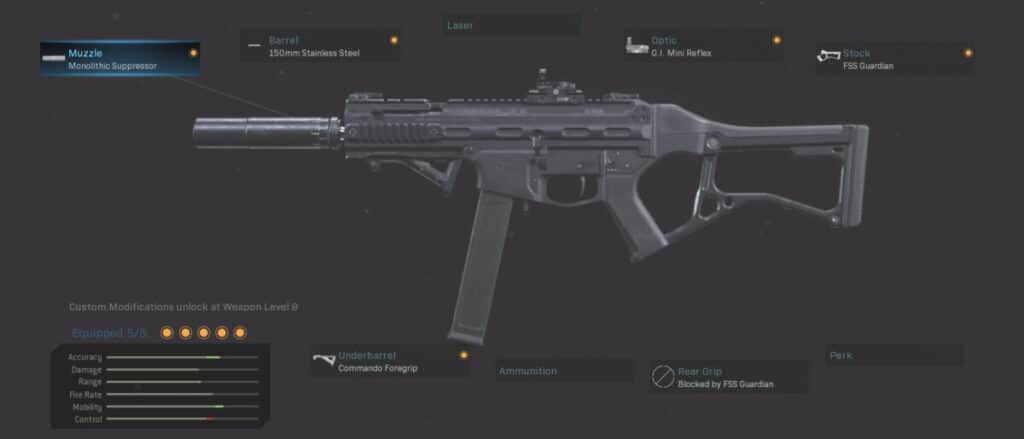
Class 2 – Striker Guns Up
This class is fitted towards the run and gun aggressive type players. Load the Striker 45 with the following attachments:
- Monolithic Suppressor
- 150mm Stainless Steel Barrel
- GI Mini Reflex
- FSS Guardian Stock
- Commando Foregrip
Class Setup
This class setup is geared towards speed and more speed.
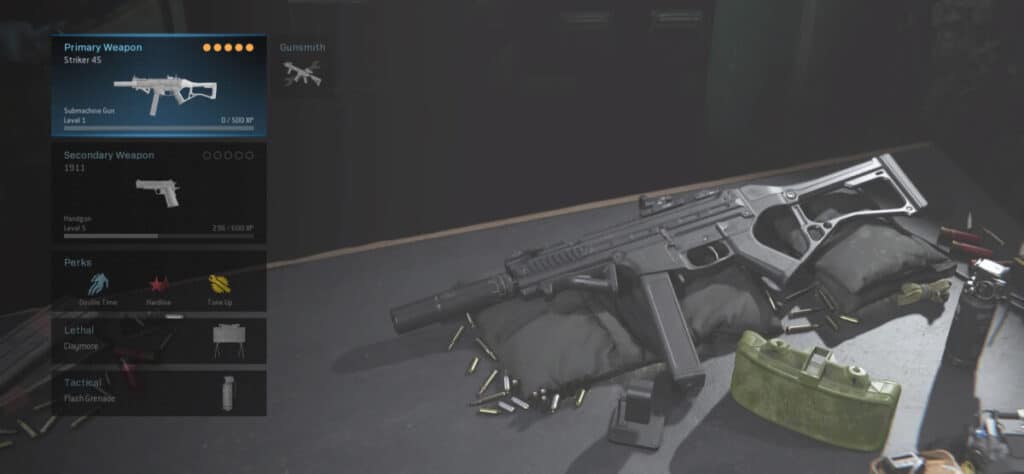
- Secondary: The 1911 is a reliable pistol for speed.
- Perk 1: Double Time to keep you on your toes longer.
- Perk 2: Hardline to help you get your killstreaks with one less kill.
- Perk 3: Tune Up speeds up your Field Upgrade recharge rate. We suggest using Dead Silence in this class.
- Lethal: Claymores work wonders. Place them on a flank route or near an objective for maximum effectiveness.
- Tactical: The Flash is an old classic we all love.
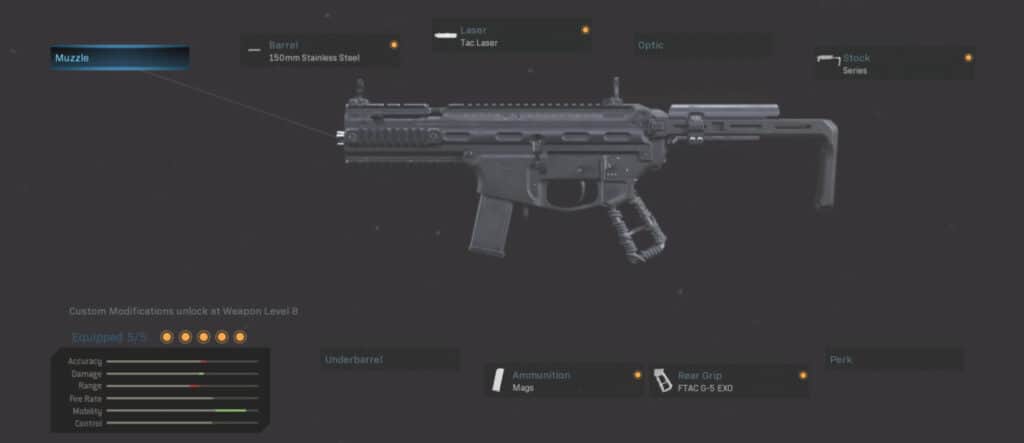
Class 3 – Striker Max ADS Speed
The final class is built towards maximizing ADS Speed. However, it comes with the price of losing fully auto mode. The weapon is now a 2 shot burst.
Load the Striker 45 with the following attachments:
- 150mm Stainless Steel Barrel
- Tac Laser
- XRK Gen III Survivalist Series Stock
- .45 Hollow Point 12-R Mags
- FTAC 0-5 EXO Rear Grip
Class Setup
The remainder of this class leans towards getting those scorestreaks and maximizing points acquisition.
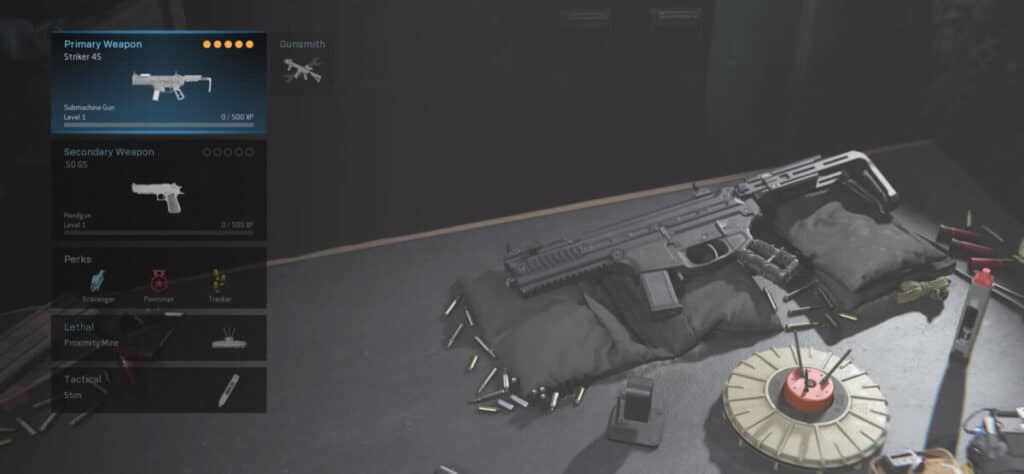
- Secondary: The Deagle is an animal in any class.
- Perk 1: Scavenger is very effective when you’re going for those bigger Scorestreaks. Nothing worse than running out of ammo.
- Perk 2: Pointman changes your killstreaks to Scorestreaks. This is great when used in OBJ based game modes. Especially Domination.
- Perk 3: Tracker is a great perk to keep you aware of nearby enemies you may have missed running past.
- Lethal: The Proximity Mine is great for countering flankers. Place it on the flag for maximum points.
- Tactical: The Stim is essential here to get you out of a sticky situation.